
- See:
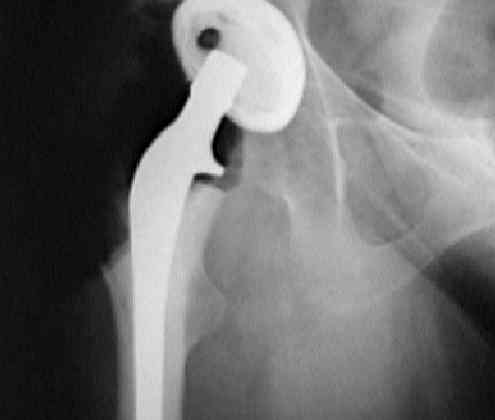
- characteristics of cemented femoral stems
- loosening cemented femoral component:
- collar: in THR
- optimal cementing technique
- removal of cemented femoral stems:
- Preparation for Insertion:
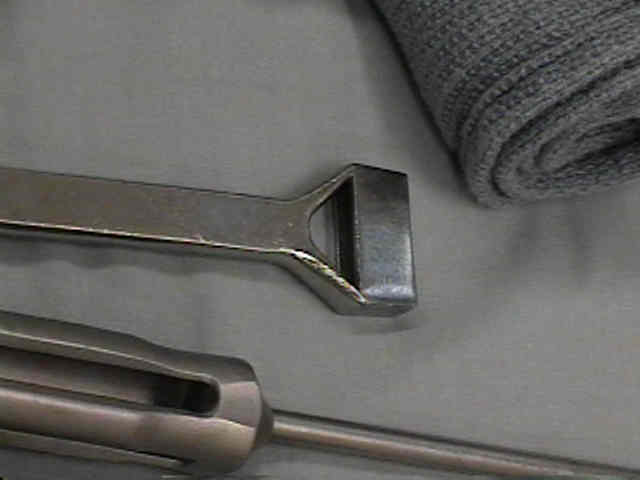
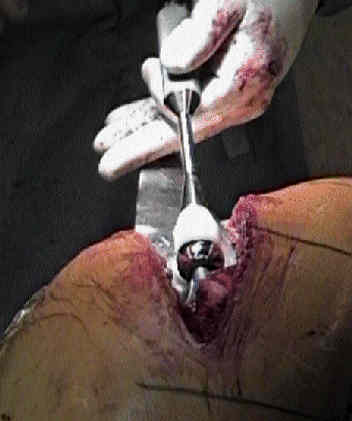
- calcar planer:
- this step is necessary to maximize contact w/ the femoral collar;
- countersink final broach size approx 2 mm below femoral neck cut;
- for prosthesis w/ collar, use calcar planer to make final adjustments of collar against medial aspect of femoral neck cortex;
- medullary brush (optional)
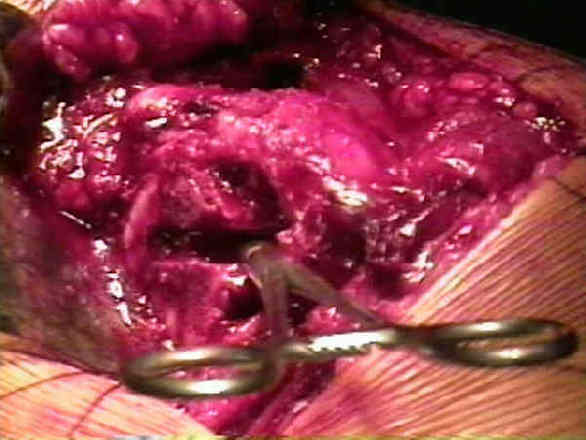
- stems placed in valgus will have a thicker mantale of soft medial cancellous bone;
- failure to remove soft cancellous bone from medial surface of femoral neck will prevent the cement column from resting on a dense
cancellous support bed and may lead to early loosening;
- cement restrictor is inserted;
- medullary canal is irrigated w/ pusatile lavage;
- ref: Medullary lavage reduces embolic phenomena and cardiopulmonary changes during cemented hemiarthroplasty.
- epinephrine soaked sponge is inserted into medullary canal;
- "illegal" sponge is placed in the acetabulum;
- apply the stem centralizer to the stem;
- cementing: preparation and technique:
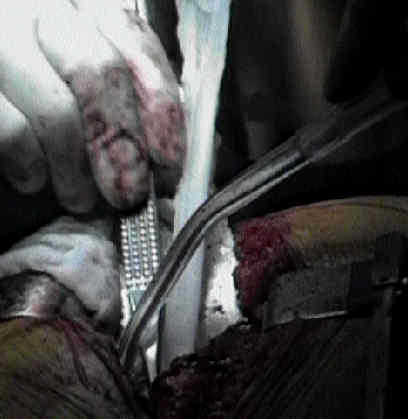
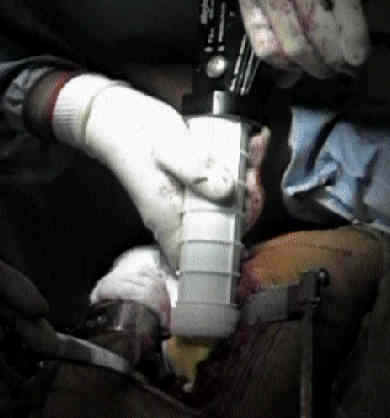
- Insertion Technique:
- the leg is placed in secure position, and prosthesis is inserted;
- prosthesis must be inserted w/ proper anteversion all the way down
- it is illegal to rotate the femoral component w/in canal because this will create voids w/in the cement;
- the prosthesis must be inserted w/ great care to maintain proper anteversion, and and care not to put the component in varus;
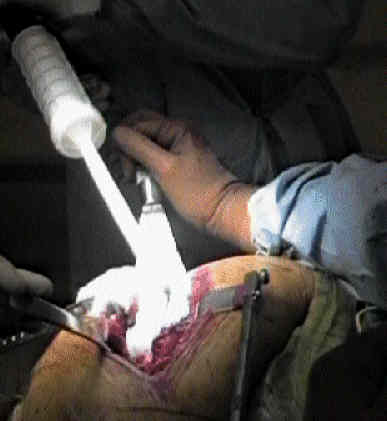
- this is best performed by placing a finger on the femoral neck where the collar is planned to rest;
- when the component is inserted, the cement wells over the side obstructing the view of the femoral neck;
- w/ the finger on the femoral neck, there is no question of the proper amount of anteversion;
- cement handling characteristics:
- in the study by Shepard MF, et al, the authors sought to determine whether the time to cementation influenced the cement-prosthesis
bond of four roughened cobalt chrome surfaces (60 grit-blasted, 10 grit-blasted, 10 grit-blasted with polymethylmethacrylate
precoating, glass bead-blasted) and one polished cobalt chrome surface;
- roughened and polymethylmethacrylate precoated surfaces:
- had significantly greater tensile and shear strengths at early cementation times compared with polished surfaces;
- roughened components had significant decreases in tensile and shear strengths as cementation time increased from 2 to 4
minutes and 2 to 6 minutes;
- the authors recommend that when using a roughened or precoated cemented femoral component, the surgeon should
consider cementing earlier with wetter cement to maximize the cement-prosthesis bond;
- polished surface stems:
- tensile and shear strengths for the polished surface were significantly lower than for the roughened surfaces and did not
change with longer cementation times;
- the authors recommend that when implanting a polished femoral component, it is prefer able that the cement is
doughy, because the cement-prosthesis bond is not influenced by the wetness of the cement and it is easier to
maintain the orientation of the femoral component;
- ref: Influence of Cement Technique on the Interface Strength of Femoral Components.
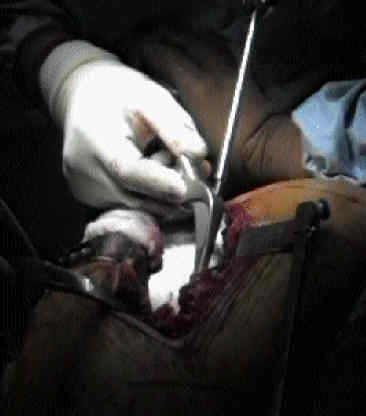
- at first the prosthesis is inserted by hand but at the last 2 cm may require a stem impactor and mallet;
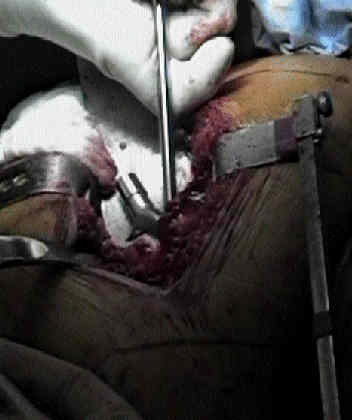
- excess cement is removed;
- reference:
Obturator-nerve palsy resulting from intrapelvic extrusion of cement during total hip replacement. Report of four cases.
- remove debris from acetabulum & recheck leg length w/ trial head;
- wipe clean the femoral stem and impact on the femoral head;
- reduce the hip;

- Final Reduction:
- remove sponge and ensure that no foreign body remains;
- after reduction ensuring that there is no interposing soft tissue;
- stability is rechecked;
- some degree of anterior instability is accetable
- posterior instability is nevere acceptable;
- ensure that there are no impinging anterior osteophytes by placing finger between femoral neck & anterior acetabulum