
- Considerations:
- select point on lateral side of shaft of femur midway between anterior & posterior cortices at the midpoint of the lesser trochanter;

- if pins are inserted below the level of the lesser trochanter, a stress riser will be created in cortical bone;
- holes at this location have been assoc w/ 20 % prevalence of subtrochanteric frx;
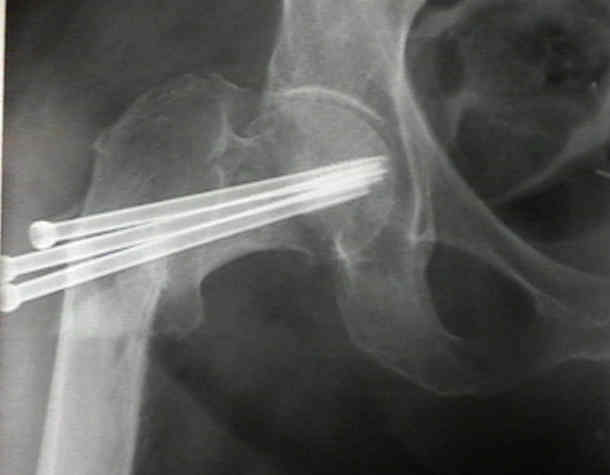
- in the example to the right, the pins were clearly placed too low, which precipitated the postoperative subtrochanteric frx;
- case example:
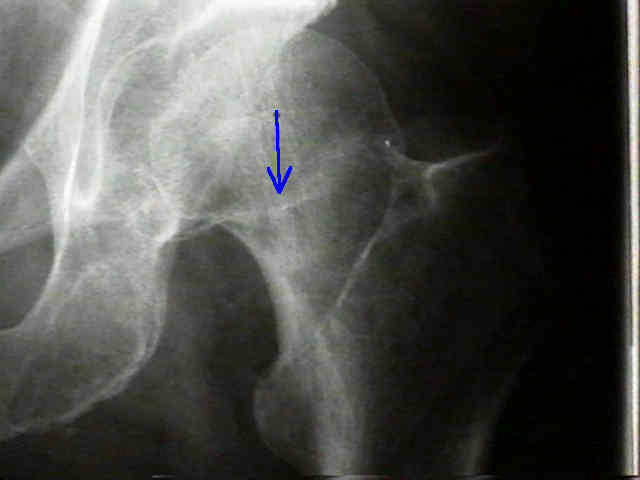
- in the next example, the pins were placed slightly too high and could have been angled more superiorly inorder to engage the central portion of the femoral head;
- Technique:
- incision:
- standard incision is one inch in length and is centered over the lesser trochanter;
- be sure to carefully incise the IT band "in line" with the incision (avoid getting the drill and cannulated screws caught in the IT band);
- if the incision is too superior or inferior, an Army/Navy right angled clamp placed in the axilla of the incision can make up the difference;
- some surgeons try to perform this technique through three percutaneous incisions, but one will usually find that after insertion of depth gauges and after screw insertion, that the total length of the three incisions is just as large as the traditional small incision that is required to insert all three screws;
- other disadvantages of this technique include:
- binding up of the IT band and vastus lateralis on the cannulated drill and screws (causing bleeding and pain);
- difficulty in adjusting the strarting holes (w/ a one inch incision, the surgeon's finger can directly hold the pins against bone, which prevents it from "dancing" in different directions);
- difficulty in retreiving screws if they end up being too long or too short;
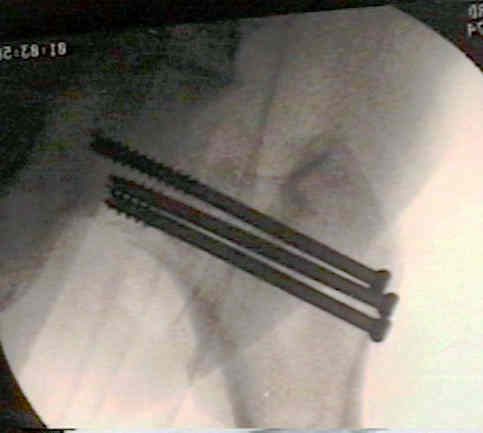
- 1st pin
- drive a guide pin into the femoral neck and into the femoral head, and use the lateral radiograph to help determine proper amount of anteversion of the wire;
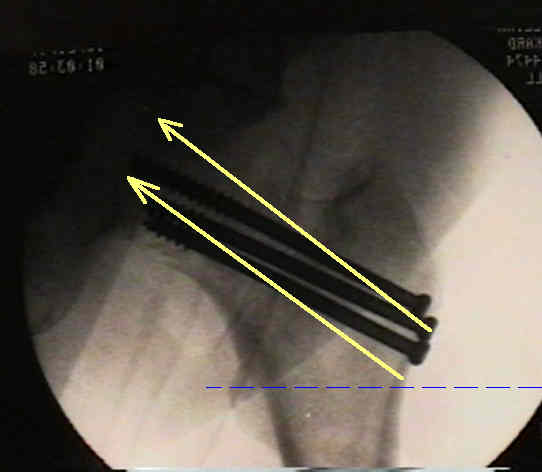
- place pins or screws at angle of 130 to 135 degrees in relation to femoral shaft;
- in garden I fractures, the femoral head lies in slight valgus, and therefore a slightly steeper angle may be required (otherwise
the screw will engage the inferior portion of the femoral head, which has the the lowest pull out strength);
- 2nd and 3rd pin:
- insert one guide wire in the anterosuperior quadrant and another wire in the posterosuperior quadrant, taking care to keep all of the wires parallel
A biomechanical study of simulated femoral neck fracture fixation by cannulated screws: effects of placement angle and number of screws.